 Save
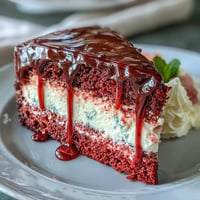
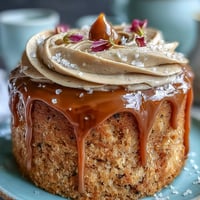
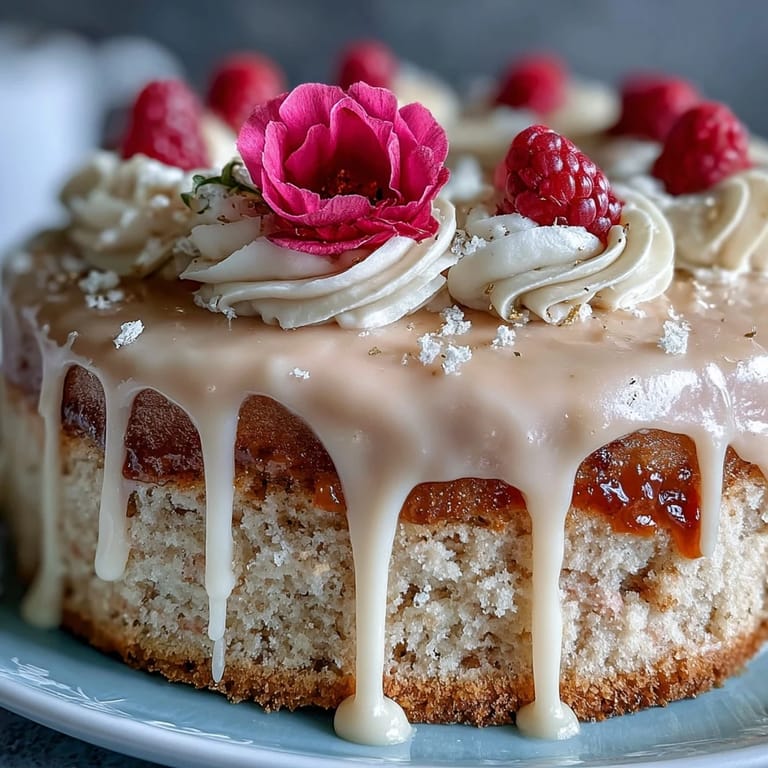
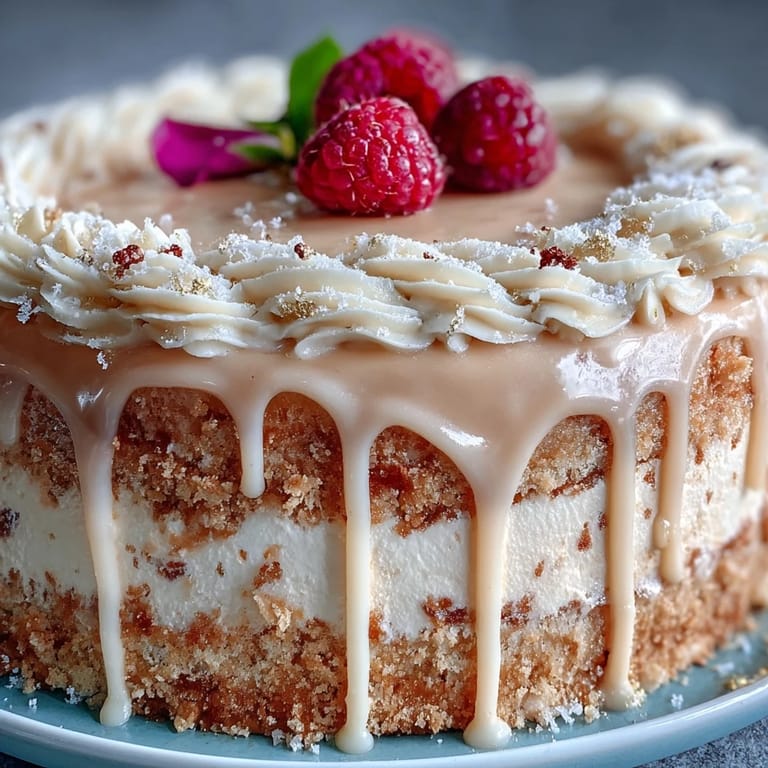
Save It was the shimmer of the gold drip that first caught my eye, but the real invitation came from the gentle aroma of rosé as I pulled this cake from the oven. Baking this for a close friend's bridal shower, I found myself humming along to a playlist of 90s pop, cheeks dusted in flour and the room full of anticipation. The blush-pink layers felt like laughter and toasts captured in a dessert, a treat that's quietly elegant but always sparks excitement when unveiled. Every element—from the hint of wine to the creamy swirl of frosting—invited both playful creativity and careful hands. Those little moments when the kitchen felt like a space for experimenting with color and shine made this cake a celebration long before it was ever sliced.
Last spring, when I baked this cake for my cousin’s shower, everyone circled the dessert table before the main course had even started. My hands were trembling as I painted that final layer of gold—one of the bridesmaids joked it was like decorating a crown. I remember someone catching the scent of rosé and calling the whole cake 'a glass of celebration in slice form.' That lighthearted pressure turned the frosting step into teamwork, smudges and all. If you’ve ever propped open a kitchen window to let in a breeze while waiting on cakes to cool, you’ll know the exact mood this recipe inspires.
Ingredients
- All-purpose flour: Sifting really matters here—a lesson learned after my first blush cake came out a little dense.
- Granulated sugar: Don’t skimp; the sugar brings out both the rosé and cocoa flavors subtly.
- Baking soda & baking powder: Give the cake its soft, towering texture—freshness makes a world of difference.
- Salt: Just a pinch sharpens all those sweet, tangy notes in every layer.
- Unsweetened cocoa powder: The key to velvet; search for a rich, Dutch-process variety for better color and depth.
- Unsalted butter (for both cake and frosting): Room temperature is your friend—cold butter will make everything lumpy!
- Buttermilk: Adds tang and keeps layers impossibly tender—a kitchen must-have for this cake.
- Rosé wine: The signature note—pick one you'd actually want to sip and your cake will thank you.
- Large eggs: Crack them into a separate bowl first to avoid surprises in your batter.
- Vanilla extract: This softens the sweetness and adds a subtle floral note behind the rosé.
- White vinegar: It seems odd, but reacts with the baking soda for that signature velvet crumb.
- Pink food coloring gel: Add a little, bake, then smile at the perfect blush—these gels are so much more vivid than liquid drops.
- Cream cheese (for frosting): Always let it come to room temp or you’ll chase lumps for ages.
- Powdered sugar: Sift after measuring—for a silky smooth finish to your rosé frosting.
- Heavy cream (for gold drip): Even a splash more can make the drip run further, so go slow.
- White chocolate chips: They melt into a smooth, glossy drip—just don’t overheat or they seize!
- Edible gold luster dust & vodka/clear extract: The drama at the end—watch it gleam as you paint.
Tired of Takeout? 🥡
Get 10 meals you can make faster than delivery arrives. Seriously.
One email. No spam. Unsubscribe anytime.
Instructions
- Prep the Pans and Oven:
- Turn your oven to 350°F and line three 8-inch cake pans—tracing circles on parchment feels oddly calming.
- Mix Dry Ingredients:
- Sift flour, cocoa, leaveners, and salt together; the waft of cocoa promises rich layers ahead.
- Cream Butter and Sugar:
- Beat until airy and pale—a few extra minutes here adds wonderful lift later.
- Add Eggs and Vanilla:
- Crack in eggs one by one, blending until the batter sighs into silky smoothness—vanilla’s perfume rounds it out.
- Combine Wet and Dry:
- Gently whisk buttermilk, rosé, and vinegar, then alternate dry and wet into your creamed mix, stirring just until barely streaky.
- Color It Blush:
- Dip a toothpick into the food gel and swirl—add more if you like your pink bold, but stop and admire that first swirl.
- Bake:
- Pour batter evenly between pans; the kitchen will fill with a gentle, wine-kissed fragrance as it bakes for 30–35 minutes.
- Cool Down:
- Rest the cakes ten minutes, then gently turn out onto racks to cool—patience now avoids tears in your layers.
- Make Frosting:
- Beat butter and cream cheese together until cloudlike, then sift in powdered sugar and beat with rosé, vanilla, and a pinch of salt—the kitchen goes quiet except for the whir of the mixer.
- Layer and Frost:
- Trim tops if needed, then stack with frosting between each, crumb coating with a light layer before chilling. Finish by blanketing the outside in swirls of pink-tinged frosting.
- Gold Drip Magic:
- Microwave white chocolate and cream in pulses, stirring smooth, then cool—drip carefully over chilly cake edges, watching the gold-ready glaze form perfect beads.
- Paint the Gold:
- Mix luster dust with vodka and sweep the cooled drip with a soft brush—the cake sparkles with every stroke.
- Final Chill and Serve:
- Chill for half an hour and admire your masterpiece; slice generously and watch conversation sparkle as much as the gold.
 Save
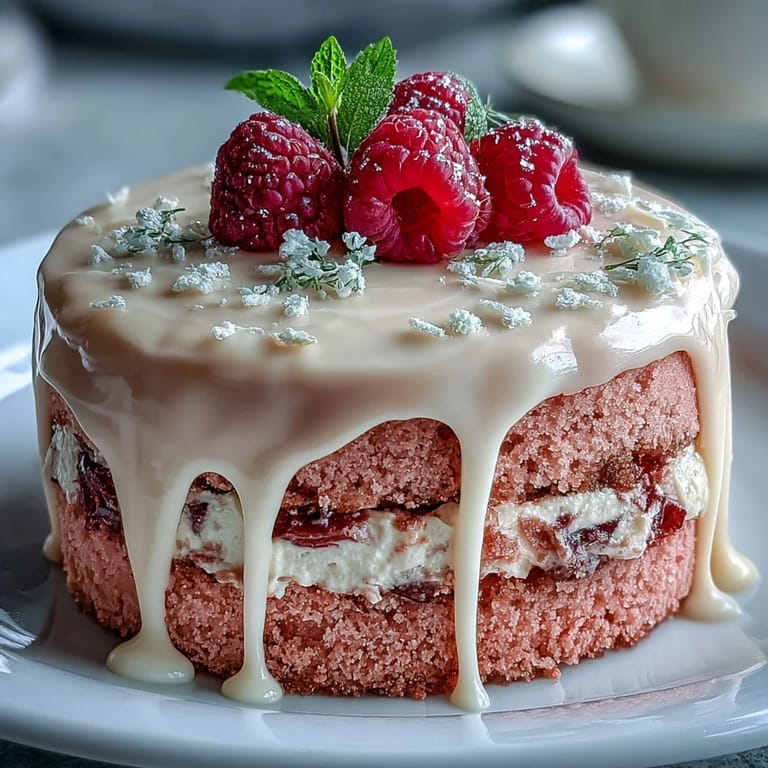
Save When the first slice revealed its rose-pink interior, the room actually gasped—my grandmother said she’d never seen a cake look so much like a celebration all on its own. That moment, forkfuls vanishing and gold flecks glinting on everyone’s lips, made every earlier mess downright joyful.
Troubleshooting a Gold Drip
Getting the gold drip just right felt like a magic trick—my first attempt ran all the way down to the plate, pooling in a puddle instead of glimmering halfway down the cake. What helped most was letting the melted white chocolate cool to room temperature before dripping; patience meant controlled, beautiful streaks that held the gold paint perfectly.
Adapting for Non-Drinkers
I once made a sparkling grape juice version for a party where half the guests didn’t drink, and the cake still vanished in record time. That swap kept the spirit of celebration going and made every guest feel welcome (plus, the frosting tastes just as creamy and bright).
Decorating Like a Pro Without Fuss
Even if you’re new to finishing cakes with a drip or edible flowers, leaning into a relaxed, playful approach always makes it shine. Edible blooms or a sprinkle of berry confetti can elevate the look with almost zero effort, turning a simple cake into a centerpiece crowds can’t stop snapping photos of.
- Stir food coloring gel slowly for a more even tone.
- Chill the cake between each stage for tidy results.
- Have spare parchment paper ready—gold can travel far!
 Save
Save Let your creativity guide the finishing touches—this cake thrives on personality. Whatever the occasion, those rosy layers and shimmering drip are guaranteed to steal the spotlight and spark celebration long after the last crumbs disappear.
Recipe FAQs
- → How can I boost the rosé flavor without making the batter too wet?
Brush cooled layers lightly with a small amount of rosé or a reduced rosé syrup so the liquid soaks in without altering batter consistency. Add wine gradually to the frosting rather than the batter to intensify flavor.
- → What non-alcoholic option keeps the rosé character?
Use chilled sparkling white grape juice or a concentrated grape reduction to mimic rosé notes. Adjust sweetness in the frosting to balance the swap.
- → How do I prevent the cream-cheese frosting from sliding on the layers?
Ensure cakes are completely cool, apply a thin crumb coat and chill until firm, then apply the final coat. Keep frosting chilled while assembling and avoid overly soft butter or warm kitchen conditions.
- → What’s the best way to make a smooth white-chocolate gold drip?
Heat white chocolate with cream in short bursts and stir until smooth; cool to room temperature for a flowing but controlled consistency. Drip from a spoon or squeeze bottle, then paint with edible gold luster mixed with a tiny amount of clear extract or vodka for shine.
- → Can I prepare elements ahead of time?
Bake layers a day ahead and wrap tightly; chill. Make frosting and the white-chocolate drip a day in advance and bring to workable temperature before assembly. Assemble and decorate on the day you plan to serve for best texture.
- → How should leftover cake be stored and for how long?
Store covered in the refrigerator for up to 3 days. Bring to room temperature for 30–60 minutes before serving to restore cream-cheese texture and flavor.