Save
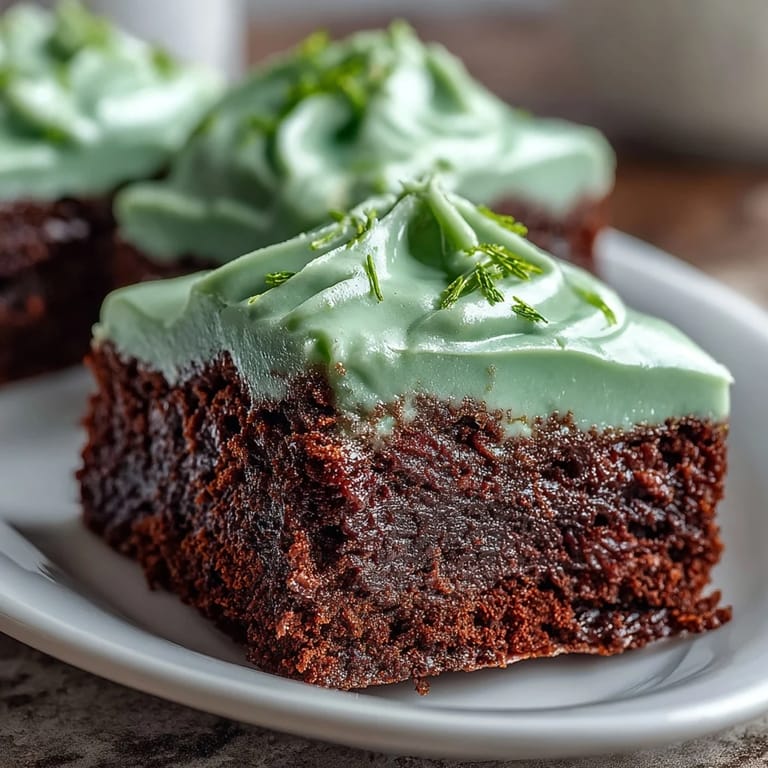
Save My neighbor knocked on the door three days before St. Patrick's Day with a shamrock cookie cutter in hand and a mischievous grin. She'd found it at an estate sale and immediately thought of me, knowing I'd turn it into something delicious. That evening, I melted butter and sugar together, watching the kitchen fill with that familiar chocolate warmth, and by the time I'd shaped those first batch of brownies into little shamrocks, I understood why she'd been so excited about the cutter. Sometimes the best desserts start with a neighbor's hunch.
I made these for my daughter's school party last March, and watching the kids' faces light up when they saw the green-iced shamrocks was worth every minute of careful cutting. One boy asked if they were "real lucky brownies," and I let him think they absolutely were. The batch disappeared in under ten minutes, which told me everything I needed to know about whether this recipe would become a keeper.
Ingredients
- Unsalted butter: Using unsalted lets you control the salt level and gives you a cleaner chocolate flavor that really shines through.
- Granulated sugar: This creams beautifully with the butter and creates that tender crumb that makes these brownies feel homemade in the best way.
- Large eggs: Room temperature eggs incorporate more smoothly, so pull them out of the fridge about fifteen minutes before you start.
- Vanilla extract: A teaspoon sounds small, but it rounds out the chocolate and adds a subtle warmth that keeps these from tasting one-dimensional.
- Unsweetened cocoa powder: Don't reach for the sweetened stuff here—you're building the chocolate flavor yourself, and you need the real thing.
- All-purpose flour: Keep your hand light when mixing to avoid developing too much gluten, which would make the brownies dense instead of fudgy.
- Salt and baking powder: Salt heightens the chocolate taste, while a tiny bit of baking powder gives structure without making these cakey.
- Powdered sugar and softened butter for icing: Softened butter (not melted) whips into the powdered sugar smoothly and creates an icing that's spreadable but holds its shape.
- Green food coloring: Start with just a drop or two because the color intensifies as you mix, and it's easy to go too far.
Tired of Takeout? 🥡
Get 10 meals you can make faster than delivery arrives. Seriously.
One email. No spam. Unsubscribe anytime.
Instructions
- Set up your workspace:
- Preheat your oven to 350°F and line that 8x8-inch pan with parchment paper, letting it overhang the sides a bit so you can lift everything out cleanly once it's cooled.
- Melt and blend:
- In a medium saucepan over low heat, melt the butter until it's just liquid and glossy, then remove it from the heat and stir in the sugar, eggs, and vanilla. The residual heat helps everything come together smoothly without cooking the eggs.
- Fold in the dry ingredients:
- Add the cocoa powder, flour, salt, and baking powder all at once, then stir gently until just combined. This is where restraint pays off—overmixing develops gluten and ruins the tender texture you're after.
- Pour and smooth:
- Spread the batter evenly into your prepared pan and use a spatula to smooth the top so the brownies bake evenly.
- Bake with purpose:
- Bake for 25 to 30 minutes until a toothpick poked in the center comes out with just a few moist crumbs clinging to it. That underbaking is intentional—it keeps the brownies fudgy once they cool.
- Cool completely:
- Let the brownies rest in the pan on a wire rack until they're completely cool to the touch, which takes about an hour. Rushing this step will cause your shamrocks to crumble when you cut them.
- Make the icing:
- While the brownies cool, beat together the powdered sugar, softened butter, milk, and vanilla until it's smooth and creamy. Add green food coloring drop by drop, stirring well between additions, until you reach the shade you want.
- Cut your shamrocks:
- Lift the cooled brownie slab from the pan using the parchment overhang, then press your shamrock cutter straight down into the brownie and give it a slight twist. Wipe the cutter clean between cuts to prevent chocolate buildup.
- Frost and decorate:
- Spread a generous spoonful of green icing over each shamrock, smoothing it with the back of a knife. If you want extra festive flair, sprinkle green sanding sugar or sprinkles over the wet icing before it sets.
- Let it set:
- Give the icing a good fifteen to twenty minutes to firm up before serving, which keeps everything neat and holds its shape.
 Save
Save These brownies became something special the moment a friend who usually buys everything from the bakery texted me a photo of them with a heart emoji. It wasn't just that they tasted good—it was that I'd made them seem effortless and fun, turning a holiday cliché into something she genuinely wanted to make herself next year.
The Secret to Fudgy Brownies
The trick isn't fancy ingredients or complicated technique—it's knowing exactly when to pull them from the oven. That moment when the toothpick comes out almost clean but not quite is the sweet spot where fudginess lives. I learned this the hard way by overbaking my first batch and ending up with brownies that were technically perfect but missing that gooey center that makes you close your eyes while eating.
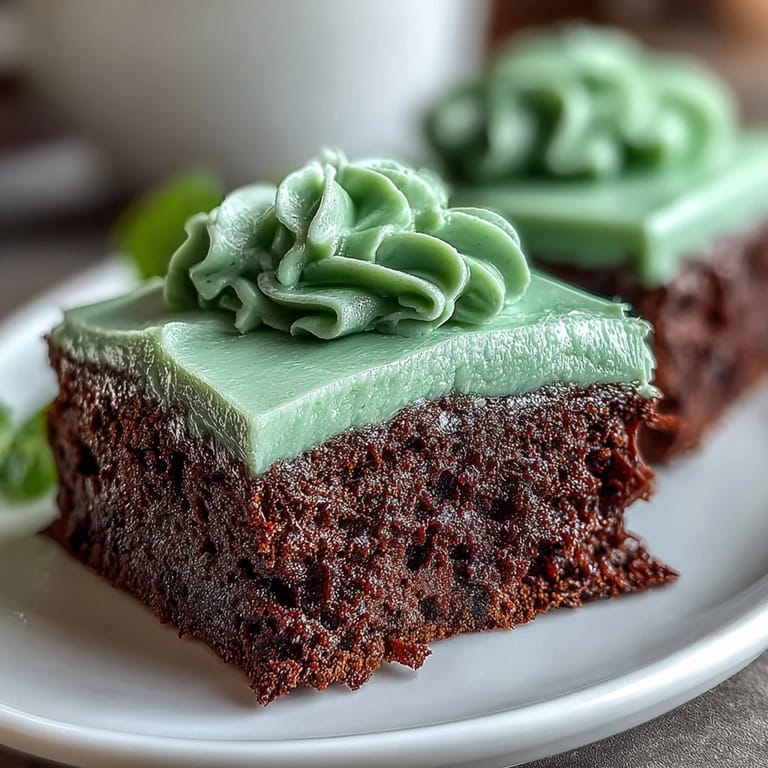
Why the Shamrock Shape Matters
Using a shaped cutter instead of cutting squares completely changes how people react to these brownies. It's the same chocolate, the same icing, but suddenly it feels intentional and celebratory rather than casual. The shamrock also creates little decorative opportunities—those three lobes catch the green icing beautifully and give your icing something interesting to hold onto.
Storage and Keeping
These brownies actually taste better the next day once the flavors have settled and the icing has firmed up completely. Store them in an airtight container at room temperature, and they'll keep for three days without any decline in quality. The scraps and imperfect pieces don't go to waste in this kitchen—they get crumbled over vanilla ice cream or saved for emergency chocolate moments.
- Let the icing set completely before stacking the brownies, or the layers will stick together.
- If you make these ahead for an event, frost them the morning of and keep them covered loosely with foil.
- Those beautiful brownie scraps from cutting the shamrocks are pure gold—save them for snacking or baking projects.
 Save
Save These shamrock brownies have become my go-to for St. Patrick's Day gatherings because they're impressive enough to bring to a party but simple enough that I'm not stressed in the kitchen. They remind me that sometimes the most meaningful treats are the ones you made with your own hands, shaped with intention, and shared with people who appreciate them.
Recipe FAQs
- → What type of pan is best for baking these brownies?
An 8x8-inch (20x20 cm) baking pan lined with parchment paper works best for even baking and easy removal.
- → How do I get the brownies to stay moist and fudgy?
Be sure not to overmix the batter and bake until just done, testing with a toothpick to keep a few moist crumbs.
- → What gives the icing its green color?
Green food coloring is added gradually to the creamy icing until the desired shade is achieved.
- → Can I use any shape cutter besides a shamrock?
Yes, different cookie cutters can be used to create various festive shapes according to your preference.
- → How should leftover brownies be stored?
Store in an airtight container at room temperature for up to 3 days to maintain freshness.