 Save
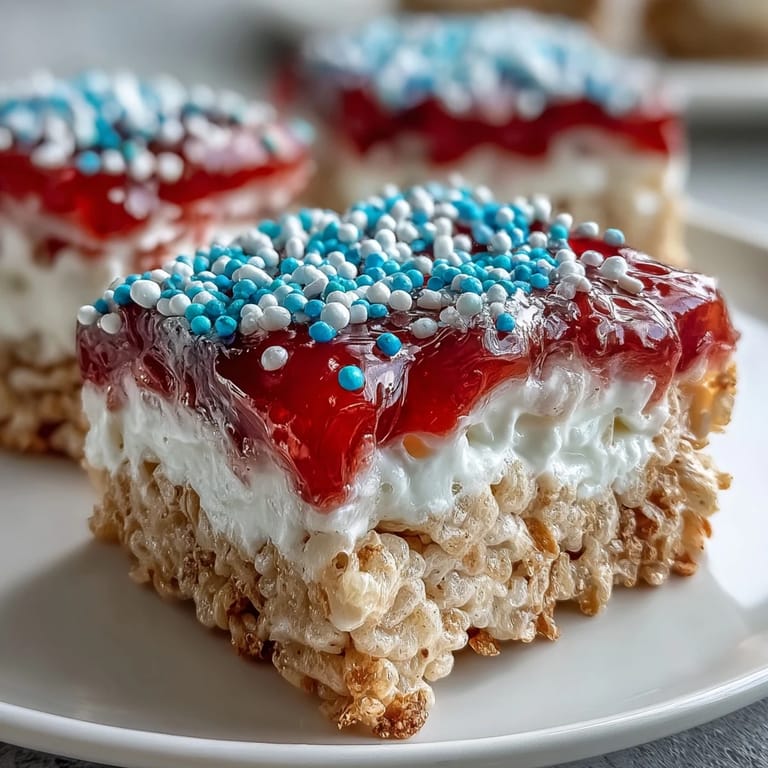
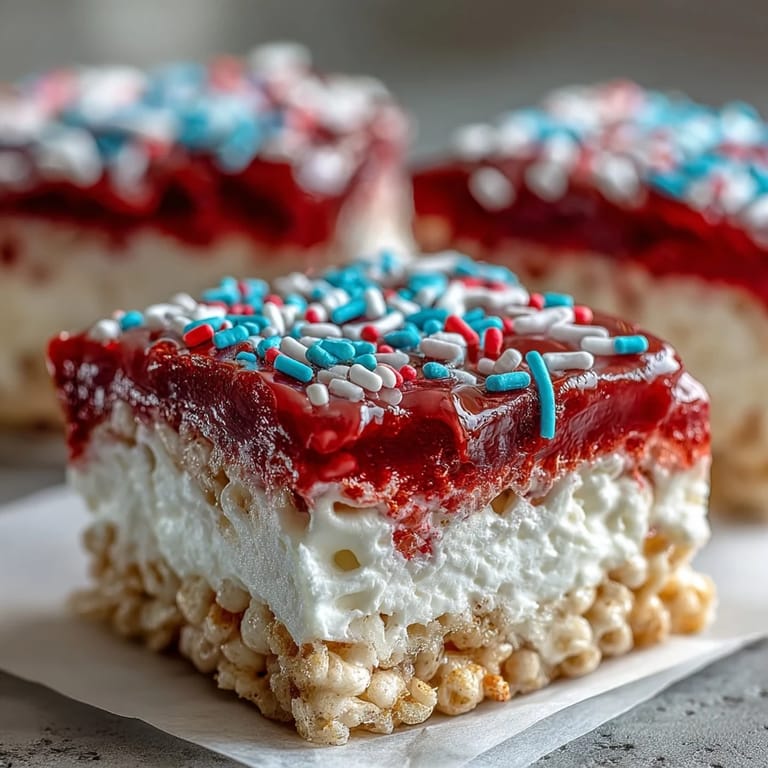
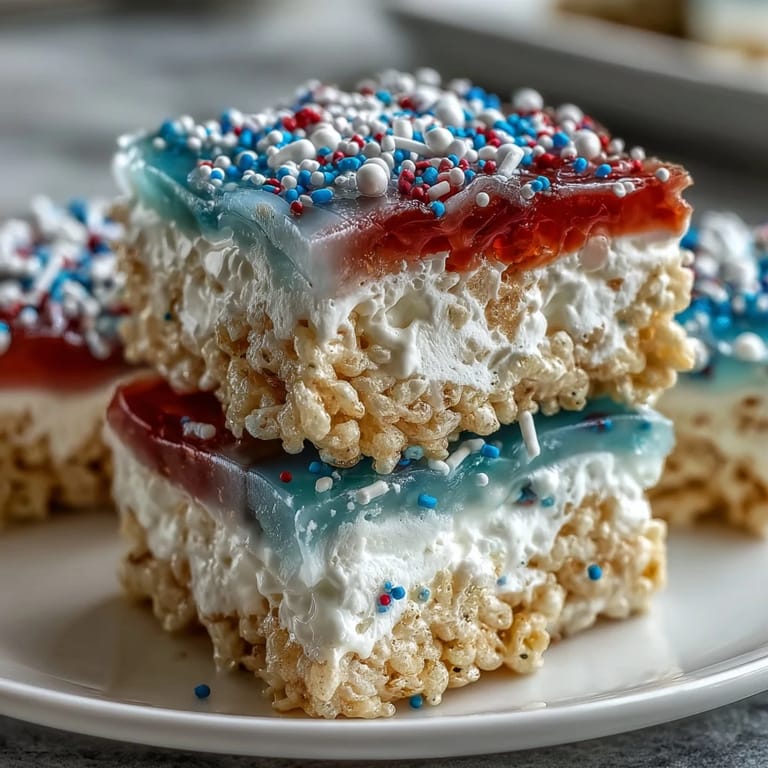
Save The Fourth of July always meant my aunt's kitchen filled with red, white, and blue everything—and somehow she'd convinced me that homemade patriotic Rice Krispies treats were easier than they looked. Standing at her counter with marshmallows piling up, watching her layer colors with the precision of someone painting a flag, I realized these weren't just treats; they were edible nostalgia. Now I make them every Independence Day, and there's something oddly meditative about melting butter, watching marshmallows transform, and pressing warm cereal into neat stripes.
I'll never forget bringing these to a neighborhood potluck where someone actually asked for the recipe three times—once at the table, once at the door, and once via text the next day. My neighbor's seven-year-old declared them "better than storebought" which felt like winning a medal, honestly. That's when I knew this wasn't just a recipe; it was something people genuinely wanted to recreate themselves.
Ingredients
- Rice Krispies cereal: Six cups total—and yes, measure it properly or your layers will be thick and weird instead of those satisfying thin stripes.
- Mini marshmallows: One 10-ounce bag, divided equally into three portions so each color gets its moment.
- Unsalted butter: Three tablespoons total, one tablespoon per layer—this keeps the flavors clean and lets the colors shine.
- Vanilla extract: Just a half teaspoon stirred into the white layer to give it subtle depth without overpowering anything.
- Gel food coloring: Red and blue—gel is non-negotiable because liquid coloring will make your mixture watery and sad.
- Red, white, and blue sprinkles: Optional but honestly, why make patriotic treats without them?
Tired of Takeout? 🥡
Get 10 meals you can make faster than delivery arrives. Seriously.
One email. No spam. Unsubscribe anytime.
Instructions
- Prepare your pan like you mean it:
- Line a 9x9-inch baking pan with parchment paper and give it a light grease so your finished treats slide out without sticking to the edges. This step takes thirty seconds and saves you from frustration later.
- Divide everything into thirds:
- Split your marshmallows and butter into three equal portions now—about 3 1/3 cups marshmallows and 1 tablespoon butter for each color. This prevents you from eyeballing it midway and accidentally making one layer twice as thick as the others.
- Make the red layer with intention:
- Melt 1 tablespoon butter over low heat, add your first portion of marshmallows, and stir until completely smooth—no lumps should survive. Add red gel food coloring a few drops at a time until you reach that flag-worthy shade, then fold in 2 cups Rice Krispies gently but thoroughly, and press everything evenly into the pan.
- Create the white layer without shortcuts:
- Wipe your saucepan clean to avoid color bleeding, melt the second butter portion, add the second marshmallow batch, and stir in the vanilla extract for a subtle sweetness. Add your second 2 cups of cereal, mix it until every piece is coated, and press gently over the red layer—you're building something here, not demolishing it.
- Crown it with blue:
- Repeat the pan-wiping ritual, melt the last butter tablespoon, add final marshmallows, stir in blue gel coloring until vibrant, fold in the remaining 2 cups cereal, and press carefully over the white layer. If you're using sprinkles, scatter them now while the top is still slightly warm so they stick.
- Wait with patience:
- Let everything cool and set for at least one hour—I know it's hard to wait, but cutting into warm treats is how you end up with a crumbly mess. Once set, use the parchment to lift the whole thing out, slice into sixteen squares with a sharp knife, and serve with the kind of pride only homemade patriotic desserts deserve.
 Save
Save There's a magic moment when you lift these treats out of the pan and see those three perfect stripes side by side—it never gets old, and honestly, that's when I feel most like my aunt. These treats have become the dessert I'm known for, the one people specifically request, and that feels pretty good.
The Science Behind Perfect Layers
Marshmallows work beautifully in layers because each one cools slightly before you add the next, creating natural boundaries between colors. The key is gentle pressing—you want them bound together but not compressed so much that you've essentially created one dense block. Think of it like building a delicate structure where pressure is applied with a light hand, almost respectfully.
Timing and Temperature Matter More Than You Think
The reason you cool these for a full hour isn't just tradition; it's because marshmallow-based treats need time for their structure to fully set. If you try to cut them too early, they'll compress and tear instead of slicing cleanly. I learned this the hard way after demolishing an entire batch trying to cut it after thirty minutes—now I set a timer and step away entirely so I'm not tempted.
Storage, Serving, and Seasonal Thoughts
These treats keep perfectly in an airtight container for up to three days, which means you can make them the day before your celebration without stress. They're best served at room temperature, and I've learned that a small spatula helps you extract each square cleanly without leaving pieces behind. There's something special about making this recipe once a year—it marks summer, celebrates something meaningful, and tastes like the Fourth of July tastes.
- Grease your hands or use a light oil on your spatula when pressing layers to prevent sticking without adding moisture.
- If you want extra flavor depth, use salted butter instead of unsalted or add a tiny pinch of sea salt to each layer.
- These make perfect gifts wrapped in cellophane and tied with patriotic ribbon, assuming you can part with them.
 Save
Save These treats are proof that the simplest recipes often create the most memorable moments—and honestly, that's exactly what Independence Day cooking should feel like. Make them, share them, and let them become your tradition too.
Recipe FAQs
- → What type of food coloring works best for vibrant layers?
Gel food coloring is recommended as it provides bright, vivid colors without affecting the texture or moisture of the mixture.
- → How can I prevent layers from mixing together?
Allow each color layer to cool slightly and set before adding the next color layer to keep distinct, clean layers.
- → Can I make these treats in advance?
Yes, they can be stored in an airtight container for up to three days while maintaining their texture and flavor.
- → Is it necessary to grease hands or utensils when pressing the mixture?
Lightly greasing hands or a spatula helps prevent sticking and makes pressing each layer more manageable.
- → What variations can enhance the flavor?
Adding a pinch of salt or using salted butter can deepen the flavor and balance the sweetness effectively.